PAUTIX Dimmable 2700K-6500K (Warm/Cool) COB LED Strip Lights | Best Chip-On-Board Lights [Review]
Table of contents
| 1:04 | Before we get started... |
| 1:46 | Unboxing and Contents |
| 3:31 | The Test |
| 5:08 | Remote Control Functions |
| 7:30 | Demonstration |
| 8:43 | Final Thoughts |
| 9:16 | Don't forget to subscribe ;) |
- #commissionearned: CrewElite and QualiTube may earn commission at no extra cost to you
In today's episode, we're reviewing some chip-on-board LED Strip Lights from the company PAUTIX. This is a pair of LED lights that are 16.4ft long. They're super bright. They can last up to 50,000 hours. They're dimmable, capable of going from 2700 Kelvin to 6500 Kelvin, so that's warm to cool white light. There are a lot of different things you can do with these LED strip lights.
Before we get started...
Before we get started with this Tech Reviews and Gadgets episode, please make sure to subscribe and turn post notifications on to get updates and alerts when we do upload. If you have any questions or concerns, leave a comment here. Enjoy the video, leave a like, and also share this video with anybody who may be interested in some LED strip lights. Also, if you guys want to check out the product or get more details and specifications about it, the information and links will available here. Let's move over to the unboxing portion of this video.
Unboxing and Contents
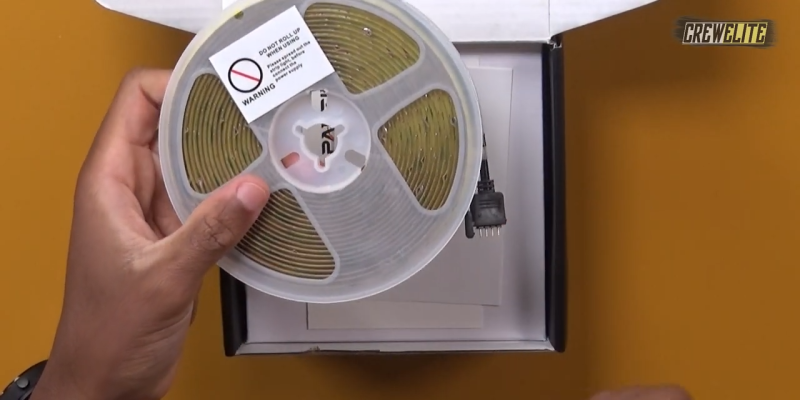
The overall packaging of the PAUTIX LED Strip Light is fairly presentable. There are a few specifications and details on the front of the box, which I am going to take a closer look at. It says PAUTIX, and it's a COB LED strip light. COB stands for chip-on-board. There's a picture of the LED strip lights as well. On the product, it says "do not roll up when using." When we test it out, we'll extend it a little bit. There's a user manual that will give you guys a lot more details on how to use this product. There's an AC/DC cable, along with the brick for the power supply. We also get a bag that contains a lot of our accessories, which includes a remote control, a 3M tape to help secure the infrared control box and a user instruction manual. It shows you all the different functionalities that the remote has to offer. Let's move over to the testing and demonstration portion of this video.

The Test
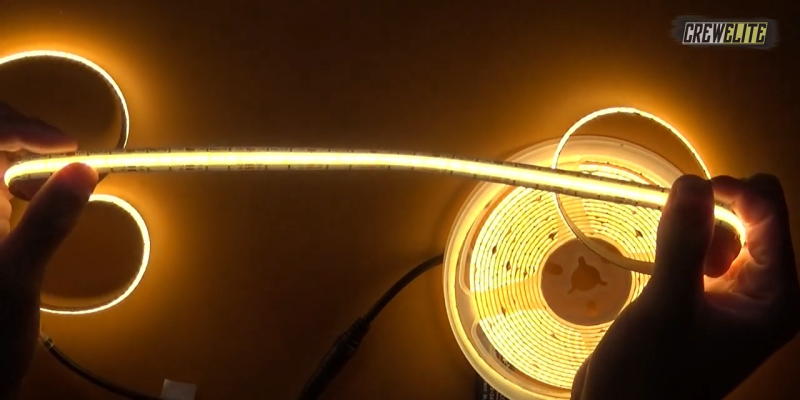
Let's proceed to test out the PAUTIX LED Strip lights. Let's start with connecting the power cable to supply it with power. When I power it on, these lights should turn on, so let me power it on. The LED strip lights are on now. Do keep in mind that when you are using this, you need to make sure that the lights are already unrolled from the holder. What chip-on-board means is that the light is continuous. You can't see any breaks in the light. The light is a continuous strip. These lights give off a really nice effect. What I like about the LED strip light is that it has that continuous effect, and it's also giving off a nice and colorful glow. Let's take a look at all the different controls we have on the remote control.

Remote Control Functions
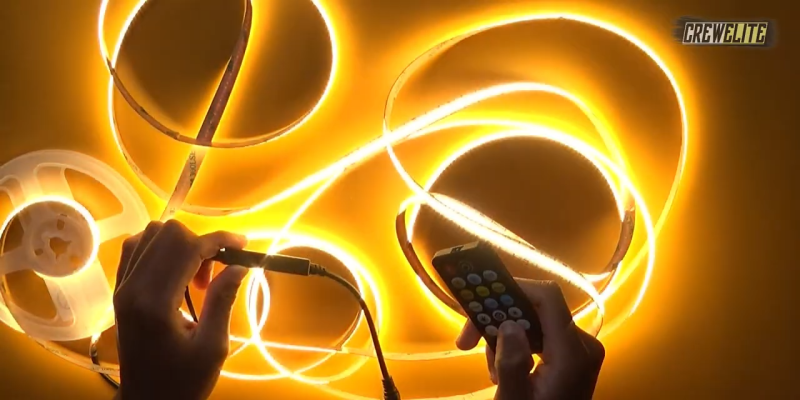
The remote controller will allow us to turn the light on and off, so I'm turning it on now. Wow, it looks really nice right now. I have it in the warmest setting. If I wanted to, I can make the light have a cool effect using the remote. Now it's at the coolest setting. You can go from warm to cool with the PAUTIX LED Strip lights, and this gives a white industrial look to it, so if I had this under the table or under cabinets, it can really look really nice. You can even use this in your kitchen, your office, or your living room.

Let's try another button. Wow, the command caused the light to flash. If you want to increase or decrease the speed of the flashing effect, you can use the buttons on its side. I'm pressing increase now, and the flashing is speeding up. If I wanted to slow it down, I can slow it down. There are a lot of different modes that the PAUTIX LED Strip lights have. The middle button controls a bunch of different modes and effects of strip lights. Let's test out the other buttons. Now it's trying to simulate a sunrise and sunset effect, which is so cool. We have one more mode that we can test out, and that is the night mode, and it turns out that it's just a steady light that is very dim.

There are a lot of different things you can just do with the PAUTIX LED Strip lights. It did a fantastic job. There are a lot of different things that you can do with the light using the remote control. Unfortunately, it doesn't come with an app. You have to access all the different features and different things you can do with the LED strip lights through the remote, and with it being COB or chip-on-board, it's continuous light. You don't see any separation of the lights. That's what makes these lights stand out from the others on the market. It looks really nice on camera. Have a look at a clip of how I use this in a few different scenarios.
Demonstration

Watch a demo from 7:31 to 8:32.
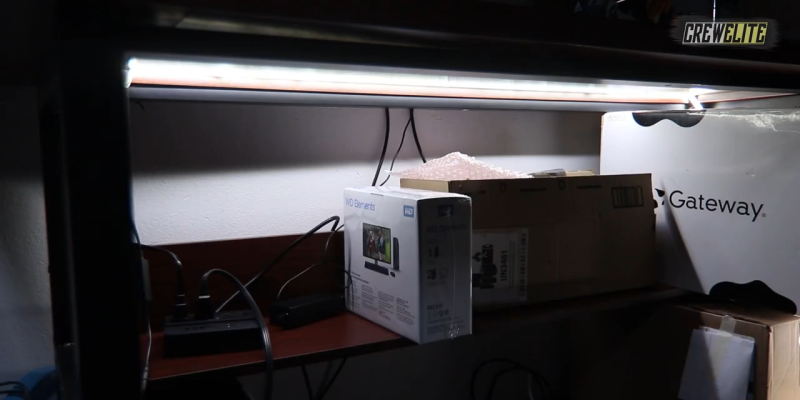
I want to show you guys an example of the PAUTIX LED Strip lights underneath a table. With the lights on, it gives off a really nice effect. I can clearly see everything that's underneath this table. If you want to use this for lighting under a table, under your cabinets, in your closet, or under your couch, you can easily do it with these COB LED strip lights. The good thing is you can use the remote to change the color temperature, so now I have very warm light, and I can increase the color temperature all the way to the coolest light setting.
Overall, it's doing a fantastic job. I can also dim the brightness, so now it's very dim. I can also increase the brightness, and now the light is very bright. We also have all these different modes. We can also configure and change the PAUTIX LED Strip lights too. Overall, these LED lights are doing a fantastic job of lighting up everything underneath the table. Let's move over to the final opinions and remarks to end this video.
Final Thoughts
Here are my final opinions and remarks about these LED Strip lights from the company PAUTIX. Well, it did a fantastic job. There are a lot of different color temperatures that you can set these LED lights to, and even with my studio lights on, these LED lights were able to light up the whole area. When we tested this out in a few different scenarios, it gave off a uniform look and feel, and it really just makes that whole entire area stand out and look a lot more presentable.
Don't forget to subscribe ;)
With that, we're all going to end off the video right here. Hopefully, you guys enjoyed this Tech Reviews and Gadgets episode. If you guys did, please make sure to subscribe and turn post notifications on to get updates and alerts when we do upload. If you have any questions or concerns, leave a comment here. Enjoy the video, leave a like, and share this video out with anybody who may be interested in some LED lights. Also, if you're a company or a business owner wanting to potentially work with me, our business inquiries email can be found here. You guys can shoot me a message if you want to potentially work with me.
If you need further assistance with this product, you guys can do so by contacting me through my business inquiries email. Lastly, the product information, specifications, and details can be viewed here along with a link to make a purchase if you're interested in buying this exact product we reviewed today. Hopefully, you guys enjoyed this Tech Reviews and Gadgets episode. I know I did making it. I'll see you guys on the next episode. This is CrewElite signing off. Thank you guys for watching, and have a good day.


About CrewElite
I have reviewed numerous products in my past, and continue to do so in a more professional style. My product reviews are carefully constructed together, in which I give my full depth analysis. I usually do unboxings, demonstrations, tutorials, tests, and also give my last thoughts on the products I review. Stay tuned for more Product Reviews!