

Best Cycle Lights On Amazon | Best Bike Lights For Night Riding | 1600 Lumens USB-C | Vastfire Bike Light

Table of contents
| 0:17 | The Box |
| 0:37 | Handlebar Clamp |
| 0:55 | Tail Light |
| 1:14 | Fitting and operating the tail light |
| 1:33 | Power Cable |
| 2:39 | Modes |
| 3:13 | Fitting the handlebar clamp |
| 3:31 | Testing the light |
| 3:48 | Charging |
| 4:14 | Fixing the clamp for the front light |
| 4:29 | Fixing the light to the clamp |
| 4:50 | Fixing the rear lights |
| 5:10 | Testing the front light |
| 6:17 | The area during daytime |
| 6:24 | Testing the tail light |
| 6:38 | White Light Test |
| 7:38 | My Recommendation |
| 8:17 | Requested Addition |
| 8:30 | Don't forget to subscribe ;) |
- #commissionearned: The Review Dad UK and QualiTube may earn commission at no extra cost to you
Play from here [0:00]
In this video, I will be unboxing and reviewing the Vastfire Bike Light set. It is a power bank as well, so you can use this to charge your phone, which I didn't know and is actually pretty cool. For full disclosure, Vastfire did send me this product for a review and in no way has it influenced my review of the product.
The Box
Looking at the packaging of the Vastfire Bike Light, you are presented with a nice compact, well-presented little box, and opening it up, you get the handlebar clamp, the rear light, the USB-C charging cable, and then the light in a nice velvety bag with some English documentation.
Handlebar Clamp
Looking at the handlebar clamp first from the Vastfire Bike Light set, it has a release clip for the light itself in the front. It also has a bit of a rubber seal around the inside and an extra piece of rubber to protect your handlebar paintwork when loosening and tightening this clamp. We also have the tightening screw to secure the clamp to your handlebars.


Tail Light
Looking at the tail light of the Vastfire Bike Light set, this comes with a micro USB charging cable, and at the back of this is the charging port just underneath the plastic flap, and when that is pushed down and closed, it is nice and waterproof, so you don't have to worry about riding through puddles or in the rain.

Fitting and operating the tail light
Fitting the tail light to the bike is really easy using the rubber band, putting that around one of the bars or even your helmet. Operating the tail light is super easy. Just press the power button and cycle through the different modes. You can choose whatever mode you prefer for your night riding on the Vastfire Bike Light.
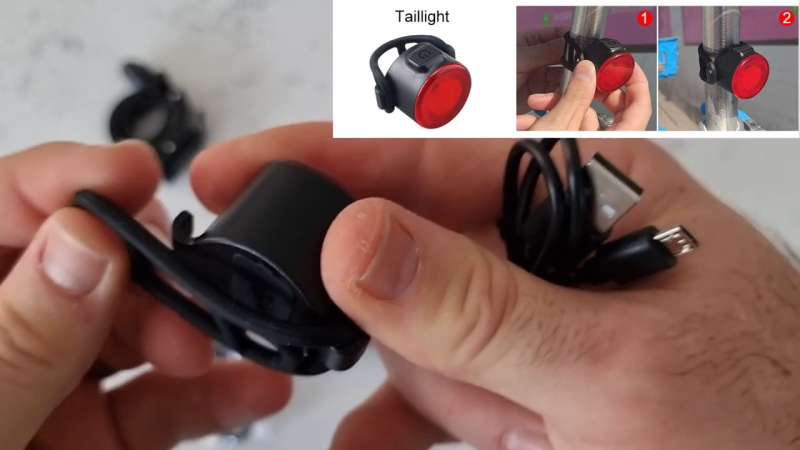
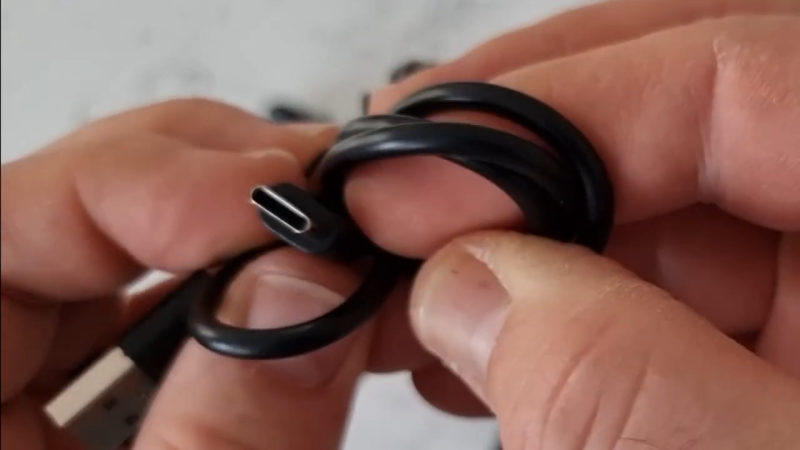
Power Cable
Finally, we've got the Vastfire Bike Light power cable, which is USB-C and USB. Turning that around, you can use this light as a power bank to charge your phone, so that's really cool.
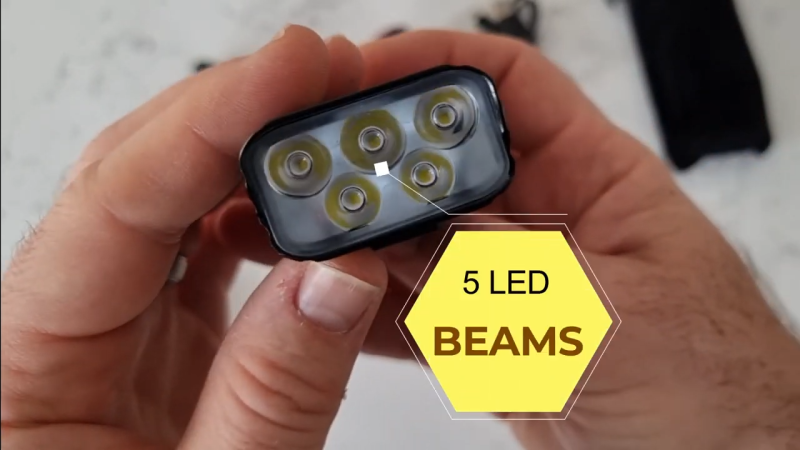
Play from here [1:43]
Here, we have the Vastfire Bike Light. We remove it from the nice velvet bag that it comes in, and it's nice and cool to the touch because the outer casing is aluminum. The light is equipped with five LED beams, 6000K white light. The distance for this in viewing can be from 300 to 500 meters. The light is also equipped with a 5200 milliamp ion battery. It also has built-in overcharge and overdischarge protection. The size of the light is quite compact as shown by the measurements, as well as comparing it to an everyday item like a pen. This is a portable light that can fit easily in your pocket, and you can use it as a flashlight, not just as a bike light. As we zoom in on the underside of the light, you will find the USB discharge port as well as the USB-C charging port.
Modes
The Vastfire Bike Light is equipped with five different modes from Low, Medium, High, and Very High, as well as the SOS flashing option. By pressing the on/off button once, you will cycle through the different modes. A double-tap will enable the brightest option, and holding down the on off button will enable the SOS flash option. The light also comes with the lock feature, so once you've selected your mode that you want for your night riding, it will stay in this mode even if you bump the light by mistake. You can unlock this to change the modes when you want to.

Fitting the handlebar clamp
Fitting the Vastfire Bike Light to the handlebar clamp is easy. You just slide the brackets into place, there will be a clip, and the light will be firmly in place for your ride. To remove the light, lift the clip and slide it off the handlebar clamp.

Testing the light
Testing the Vastfire Bike Light in broad daylight, as you can see here, is quite strong. It also generates a bit of heat, especially on the highest mode. Don't be too concerned about the heat as the aluminum casing dissipates the heat quite nicely.

Charging
Charging the Vastfire Bike Light is very easy. Just plug the USB-C into the light and the USB into a USB charging port on a PC or plug. While the light is charging, you will see a small indicator light that flashes. This is indicating that it is successfully charging. There are nine different settings for the charging. If 1 is displayed, that means it needs charging, and if 9 is displayed, it means it is fully charged and ready for use.

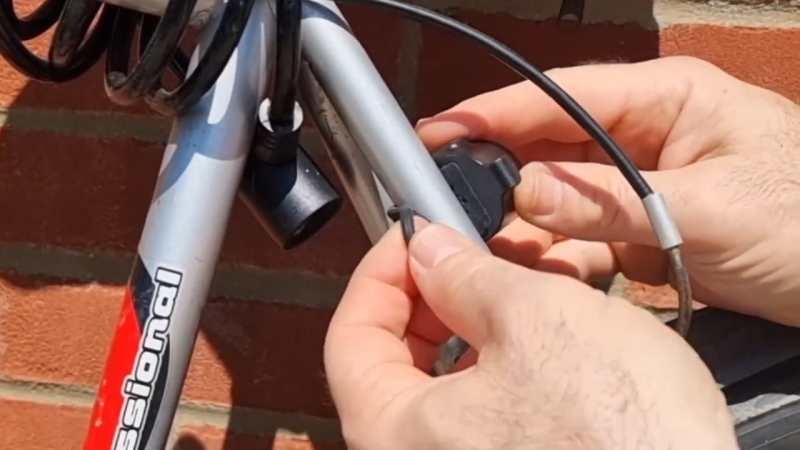
Fixing the clamp for the front light
Fixing the Vastfire Bike Light clamp for the front light is very easy. Loosen the screw, so the clamp can open up, and once it's open, place it around the handlebars. Close it. Fix the screw in place, and then tighten it until it's nice and firmly in place.

Fixing the light to the clamp
To fix the Vastfire Bike Light to the clamp, simply slide the brackets onto the clamp. Once in place, you'll hear a click and the light will be firmly on the bracket. There are two settings, left and right, that move off-center, so you can position the light the way you like. To remove the light from the clamp, hold down the clip and slide the light off.
Fixing the rear lights
To fix the rear light, simply use the rubber band supplied with the Vastfire Bike Light set, and place it around any bar on the back of the bike, and clip it in place. The rubber band supplied is large enough to fit around a wider bar. Once in place, it's actually quite firm, and it's hard to move around as the rubber does hold it in place.
Testing the front light
Testing the Vastfire Bike Light in total darkness, I went down to the local park. The tree line in the distance was roughly 50 meters from me. I started off with the lowest setting, which was actually quite bright. I then moved on to the second level of modes that are available, and it was quite a bit brighter. Then, I try the third setting, which is even brighter. The beams of light were actually quite bright. I then go onto the final setting, which is the brightest of them all, and that is actually really bright. I lit up the whole park that was there, and it was quite impressive. I'm actually quite impressed with this light.

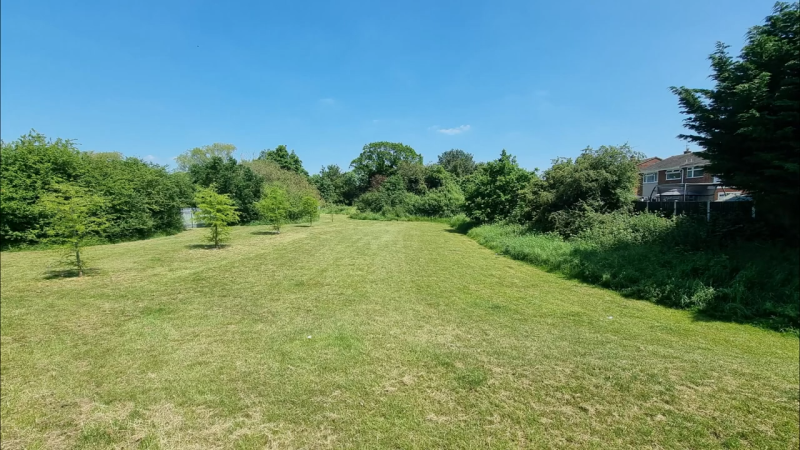
The area during daytime
I've included a daytime image of this park just so you can get an understanding of how well the Vastfire Bike Light is performing in the size of the area it's in.
Testing the tail light
I then moved onto the tail light of the Vastfire Bike Light set and tested those modes and brightness. This comes with six modes. There's three dimmer modes, and there are three different modes for flashing.

White Light Test
I then walk down a local path, which is lit up from an overhead lamp, which is an orange light, and in the distance, there's another one. In between, I tested the Vastfire Bike Light to see how much white light this torch/flashlight/bike light actually produces on the lowest setting, and then I cycled through the settings. This light is really bright, and I'm quite impressed with how it performs.

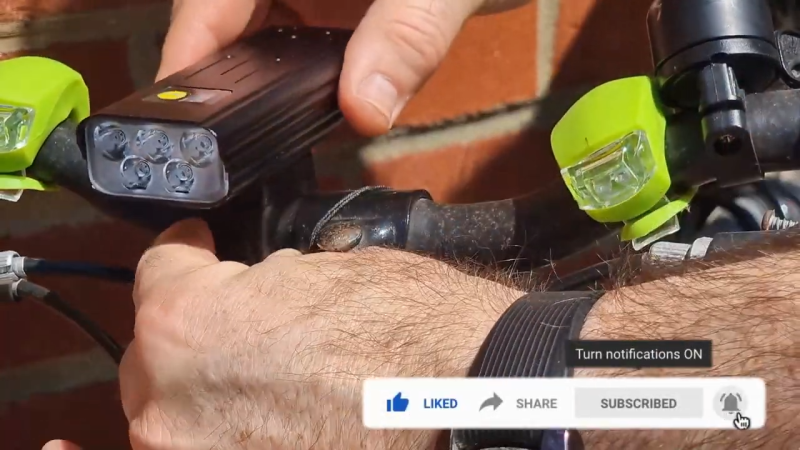
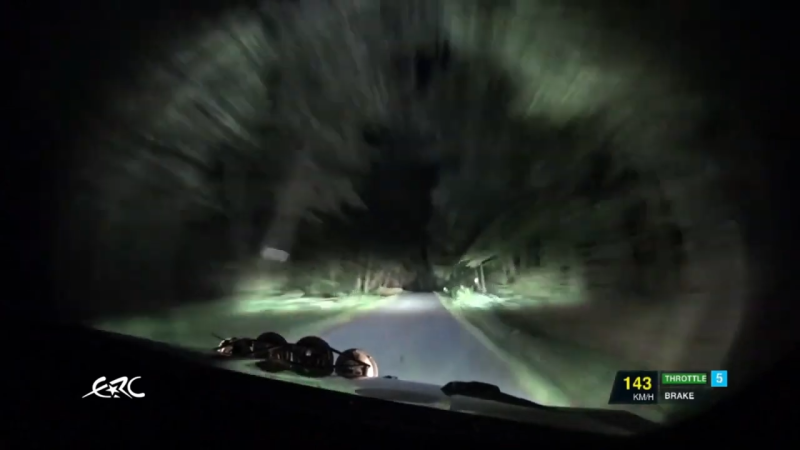
Play from here [7:09]
I then went for a ride with the Vastfire Bike Light fixed to the handlebars. The mode of the light is on the third highest level, three to see how bright this light is as I start riding through the pathways.

My Recommendation
I then placed the camera on the ground and got the bike up and riding around the park with different levels of lighting. This light was really bright and visible from quite a distance, as well as the tail light flashing and the light, to me, it's just so bright for a bike light, and the options that are available are just really good. The performance is really good. My recommendation is that If you're looking for a bike light that is compact, easy to use, small, and not just a bike light, a torch or a flashlight, the Vastfire Bike Light is the light to get. It is really good. It's so strong. The trees were just lit up. Everything was lit up.
Requested Addition
The only thing I would like to see for the Vastfire Bike Light is a helmet clamp or a device to fix it to your helmet because you don't always use your handlebars to look left and right or around as you're riding.

Don't forget to subscribe ;)
I just want to thank Vastfire once again for sending me the Vastfire Bike Light to review. It was really enjoyable, and I'm really impressed with it. If you guys need a helmet, please check out my channel, and I'll see you guys again for the next review. Cheers.

About The Review Dad UK
Just a regular dad unboxing and reviewing tech, gadgets and lighting. Honest reviews sprinkled with a bit of fun.